Quick start with “Hello World”
From this chapter, you will learn how to create a CRS App Instance and the steps for building your cloud recognition App, following the EasyAR HelloARCloud sample.
Get started with EasyAR Sense
Before starting CRS, you firstly need to create new App to generate EasyAR Sense Key, and know well already about how to use EasyAR Sense. Make sure to use EasyAR Sense v2.0.0 or higher version.
Please read below chapters to get started with EasyAR Sense.
If you are using Unity, please read,
If you are developing native apps, please read,
Build sample App
Please follow 4 steps to build HelloARCloud sample(Basic edition):
- Step1: Create CRS App Instance
- 1) Go to Developer Center -> CRS, and create a new CRS App Instance, then you can upload your image targets.
Select the best CRS region, in which your App is most suitable. Then Create a new CRS App Instance. Hint: CRS App Instance in NA1 region only be create by English website.
Free trial for 14 days in each region

2) Confirm the CRS App Instance name
3) Wait for one minute, and you will get your space ready. If you meet problems during creating CRS App Instance, click here to contact us.
- Step2: Manage your Target CRS App Instance
Go to “Manage”, and upload new target in your CRS App Instance
About the properties of target images, e.x. meta, width, etc, please refer the API of create new target for more details.

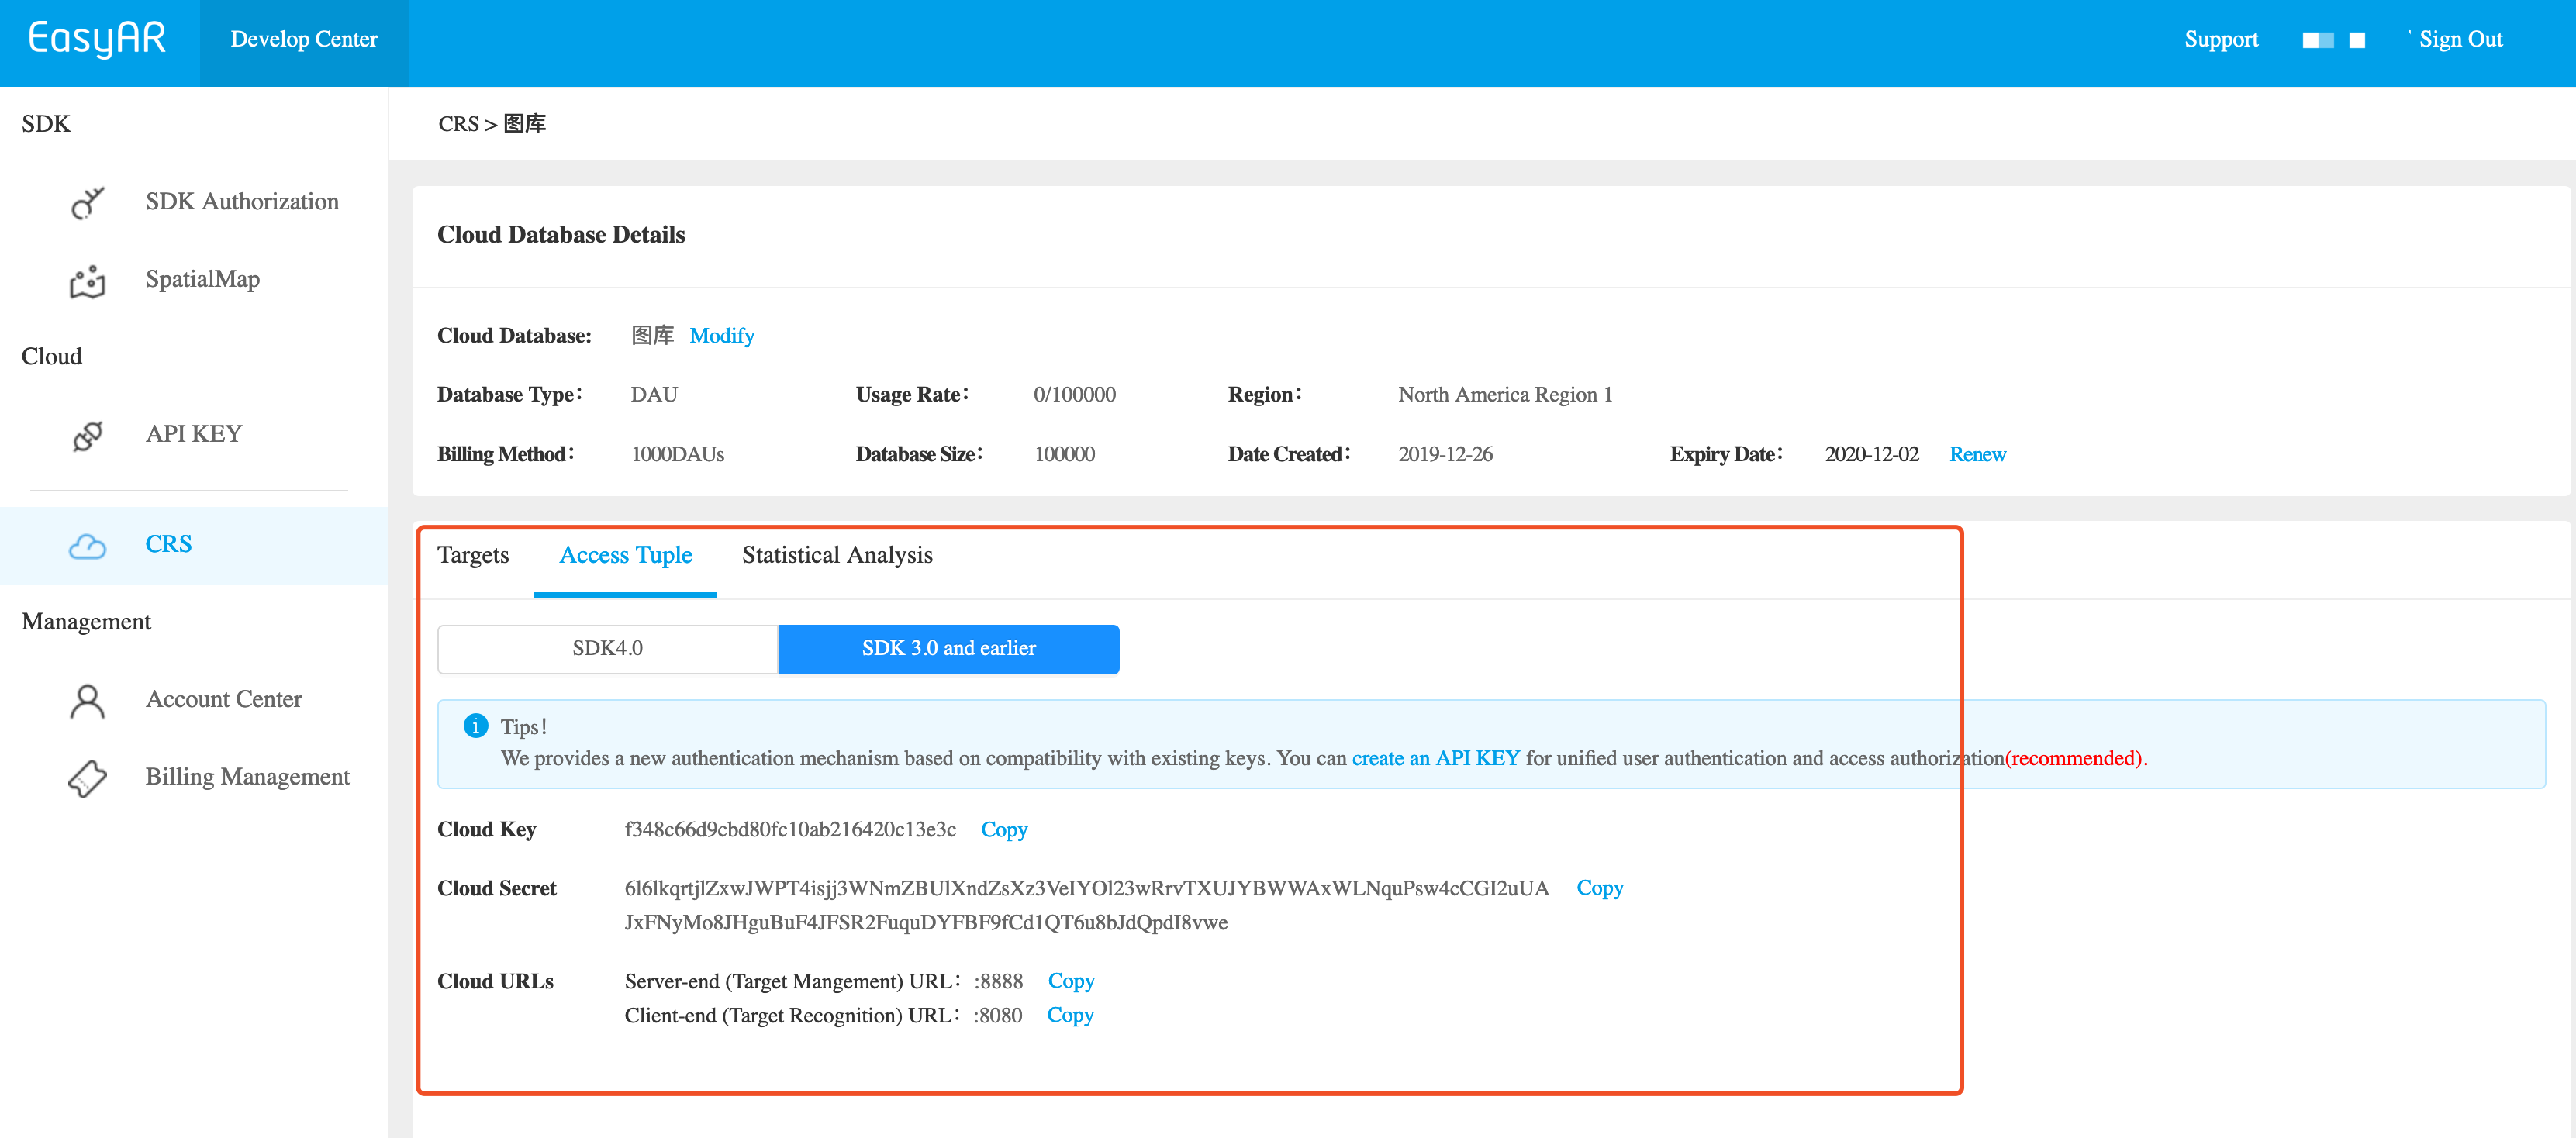
Shows CRS App Instance authorization information
You can also manage target using EasyAR CRS Web Service API . Your authorization information is required when you request the web service APIs. Hint: Web service endpoint is Server-end URL.

You should invoke API Ping to check health of Web Service.
HTTP/1.1 200 OK
Content-Type: application/json
{
    "statusCode": 0,
    "result":
    {
        "message": "pong"
    },
    "date": "2015-06-11T07:45:47.984Z"
}
Step3: CRS in your App
Open the sample HellpARCloud project, and fullfil EasyAR Sense license and overwrite your authentication information <API Key, API Secret, CRS AppId, Client-end URl> into your code.
If you use Sense 3.x or low versions, please overwrite your authentication information tuple <Cloud key, Cloud secret, Client-end URl>.

Refer Setting up EasyAR Android SDK if you have problem about EasyAR Android HelloARCloud setting up.
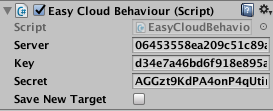
As following shows, open the Unity sample project, then fullfil EasyAR Sense license and overwrite your authentication information <API Key, API Secret, CRS AppId, Client-end URl> into your code.
If you use Sense 3.x or low versions, please overwrite your authentication information tuple <Cloud key, Cloud secret, Client-end URl>.

As following shows, open the sample project with IOS edition, and fullfil EasyAR Sense license and overwrite your authentication information <API Key, API Secret, CRS AppId, Client-end URl> into your code.
If you use Sense 3.x or low versions, please overwrite your authentication information tuple <Cloud key, Cloud secret, Client-end URl>.

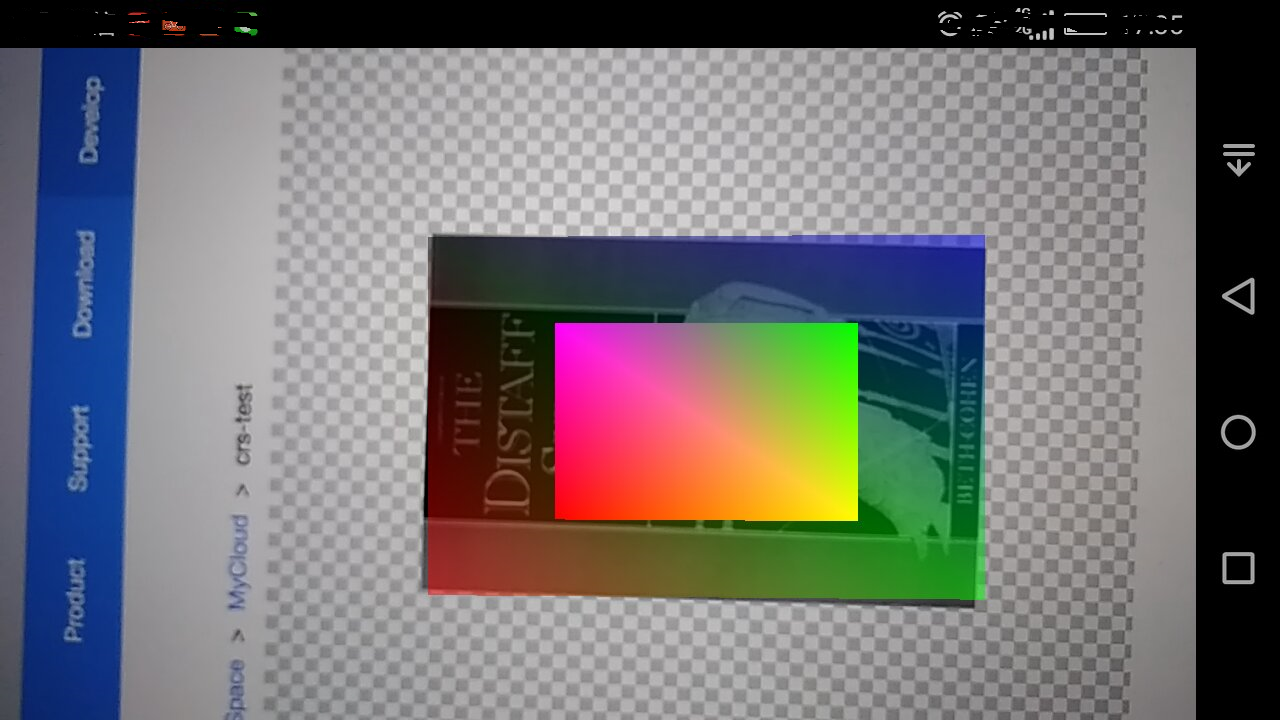
Step4: Recognize your new target image


