EasyAR Planar Image Tracking
Attention
The content of this page will be updated soon.
This is EasyAR Sense feature, runs on device. Please reference Feature Description of EasyAR Sense.
EasyAR Image Target Data
Please reference Feature Description of EasyAR Sense.
You can access tools using menu EasyAR > Sense > Image Target Data. It can generate Image Target Data in batch mode.
Create ImageTarget
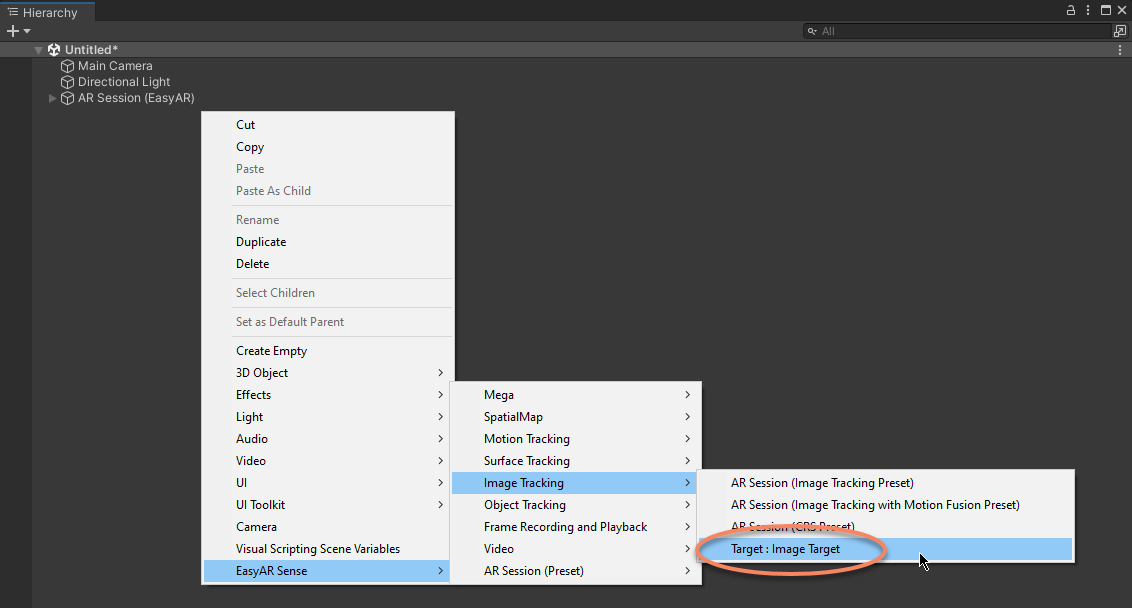
if you want to use Image Tracking, you need to create ImageTargetController by EasyAR Sense > Image Tracking > Target : Image Target
The ImageTarget in the scene will show as question mark after creation.
Then you need to configure ImageTarget. There are many ways to do this
If use Texture2D to create target, the image parameter should be set first,
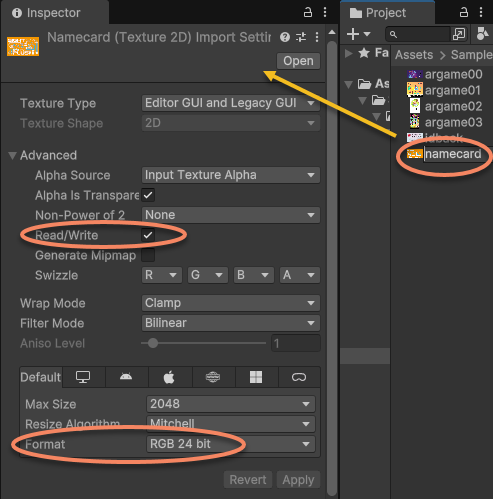
Must check
Read/WriteFormat must set to one of
RGB 24 bit,RGBA 32 bit, orR 8. Automatic is not acceptable.
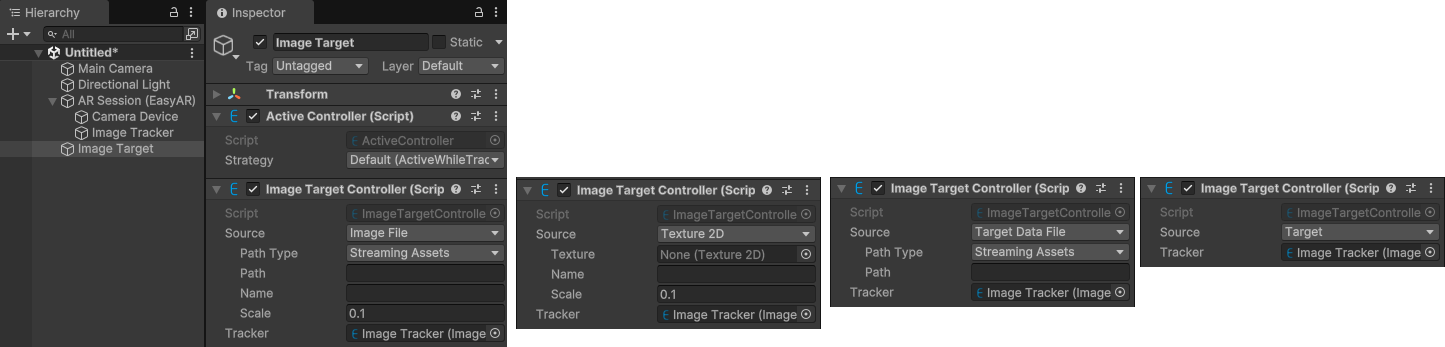
Then configure the ImageTargetController to use the above image.
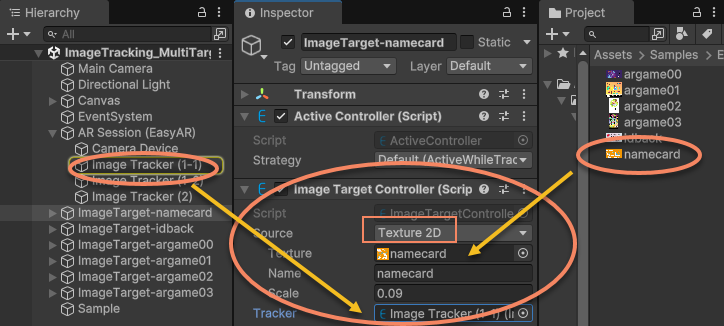
Source: Set to Texture 2D here, so the ImageTarget will be created from Texture2D of the image.
Texture: Set to the image texture that needed to be target.
Name: Name of the target, choose a word easy to remember.
Scale: Set according to physical size of the image width in real world. Here the name card width is 9mm in real world, so it is set to 0.09 (m).
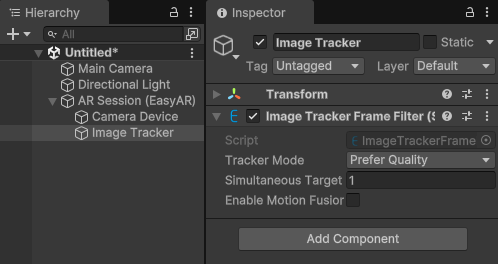
Tracker: The ImageTrackerFrameFilter to load ImageTargetController. It will be set to one of the ImageTrackerFrameFilter in the scene when add. It can also be changed after that.
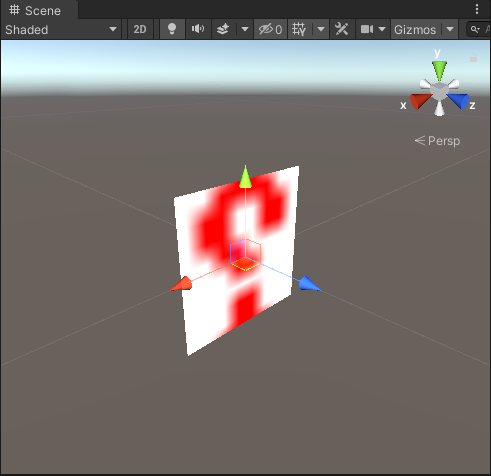
The ImageTarget in the scene will change with Texture2D
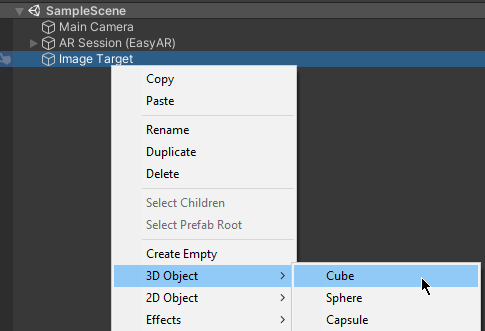
Add 3D Content which Follows Targets
Here we show how to add 3D object under ImageTarget node. We use a Cube as sample.
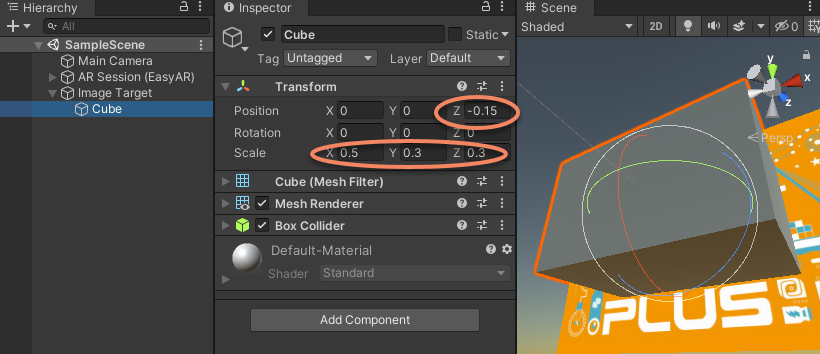
Scale: Transform can be set to fit the needs. Here we set scale to {0.5, 0.3, 0.3}.
Position: Transform can be set to fit the needs. Here we set z value of position to -0.3 / 2 = -0.15 so that the Cube bottom and image will be aligned.